How to Create a Hanging Indent in Google Docs?
Creating a hanging indent in Google Docs is a simple yet helpful formatting tool, especially when working on bibliographies, reference lists, or any other content where you need to align text in a specific way. In this article, we’ll guide you through the easy steps to create a hanging indent in Google Docs so you can make your documents look more polished and professional.
What is a Hanging Indent?
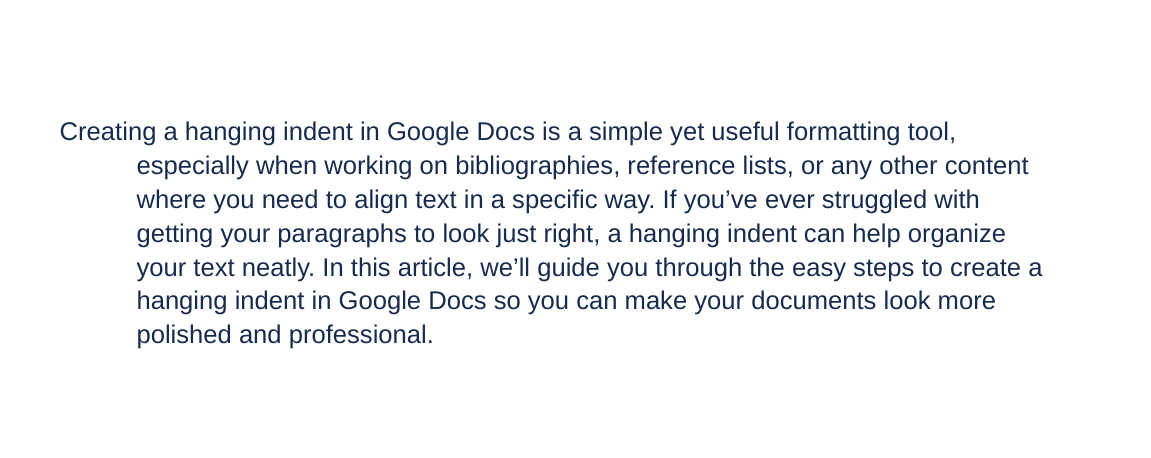
A hanging indent is paragraph formatting where the first line starts at the left margin, but all the following lines are indented. This means the first line “hangs” over the rest of the text, which is why it’s called a hanging indent. Common uses of Hanging Indent include:
- Style guides, like APA, MLA, and Chicago, require hanging indents for bibliographies.
- Some legal writings use hanging indents for clarity.
- When organizing information, a hanging indent can make text easier to read.
Create a Hanging Indent in Google Docs
- Open Google Docs .
- Highlight the text you want to format.
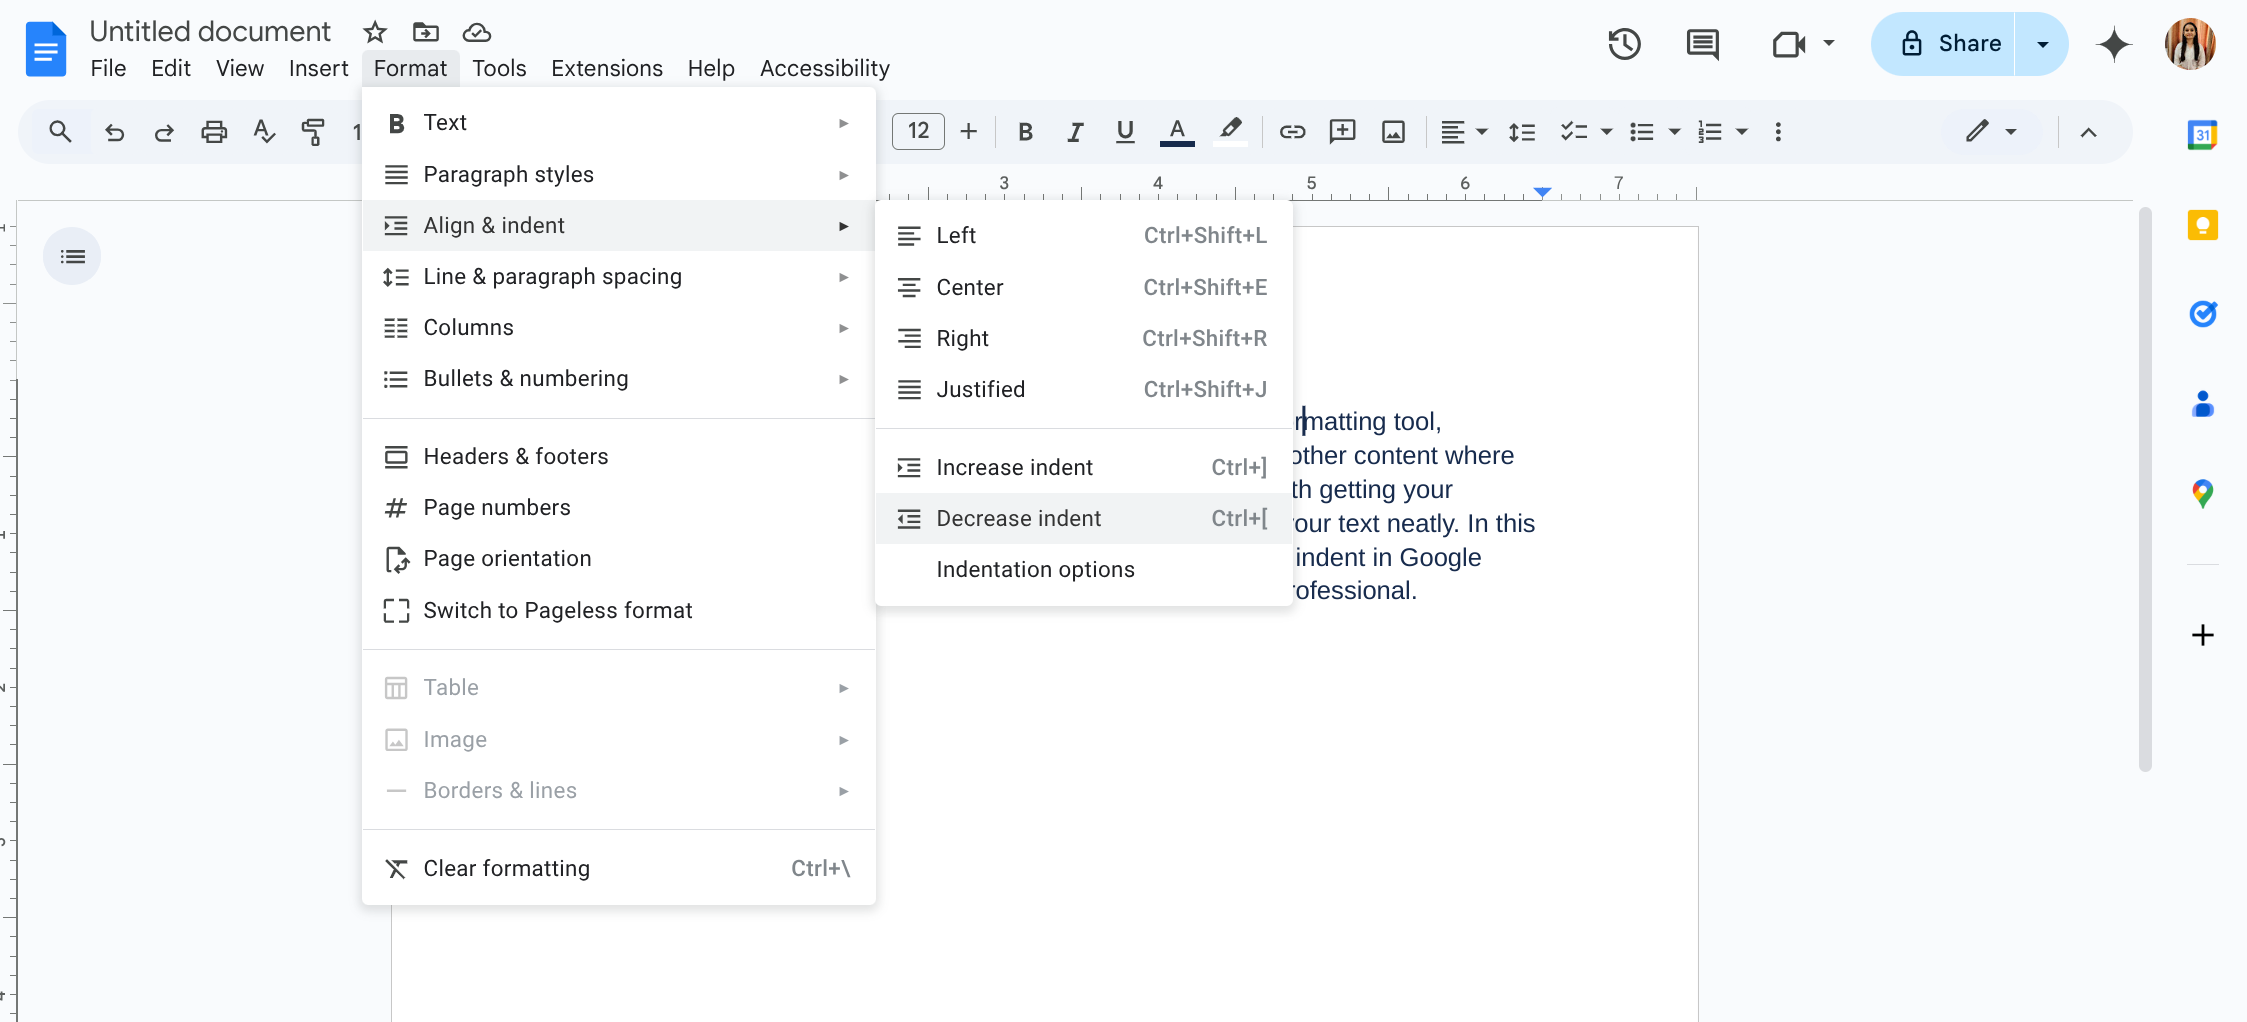
- Navigate to the Format tab on the toolbar.
-
Choose
Align & Indent
, then select
Indentation options
.
-
Under the
Special
section, select
Hanging
from the dropdown.
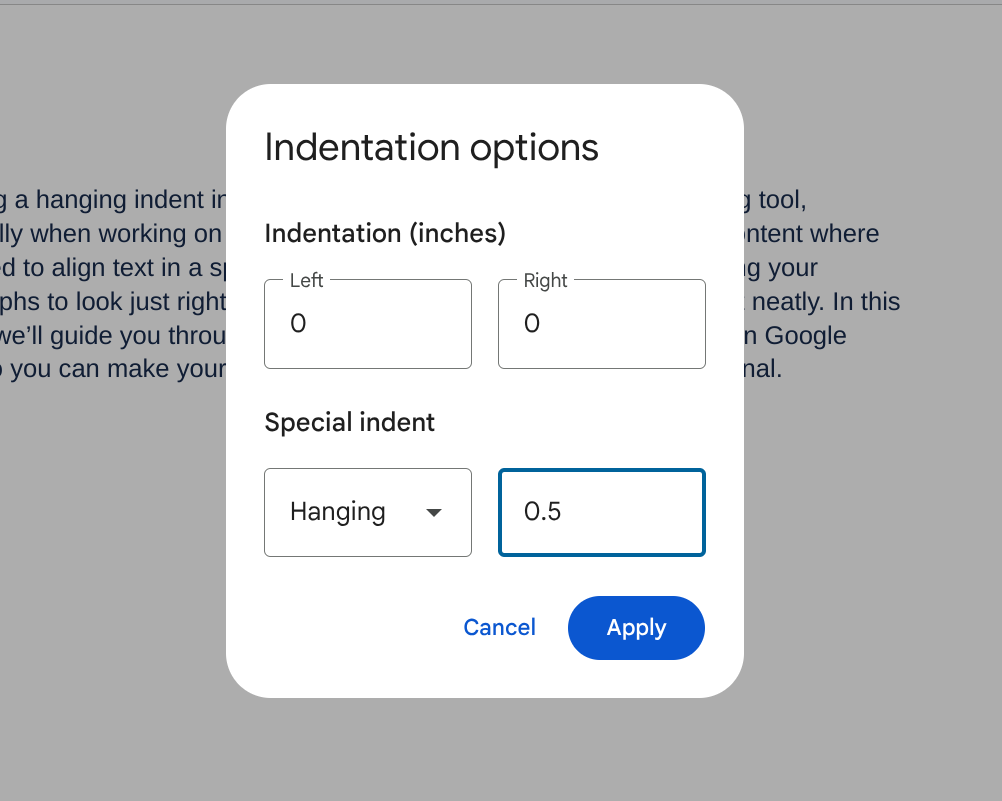
-
Adjust the indent size if necessary and click
Apply
.
Related Reads
- How to Make a Brochure on Google Docs?
- How to do Subscript in Google Docs?
- How to Superscript in Google Docs?
- How to Make Columns in Google Docs?
- How to Cross Out Text in Google Docs?